DIY Game Console With Arduino & Oled
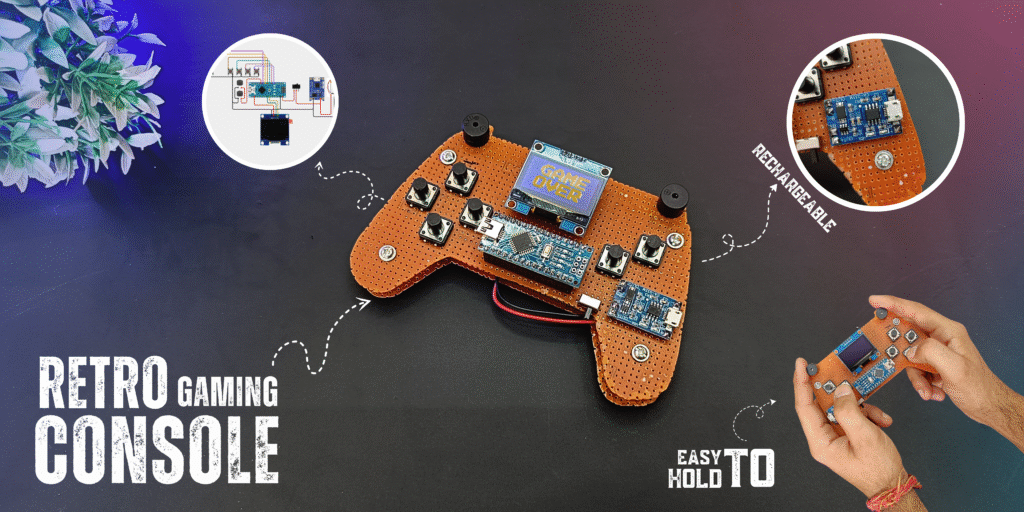
 Build a Mini Game Console with Arduino and OLED Display V1
Welcome to an exciting DIY project!
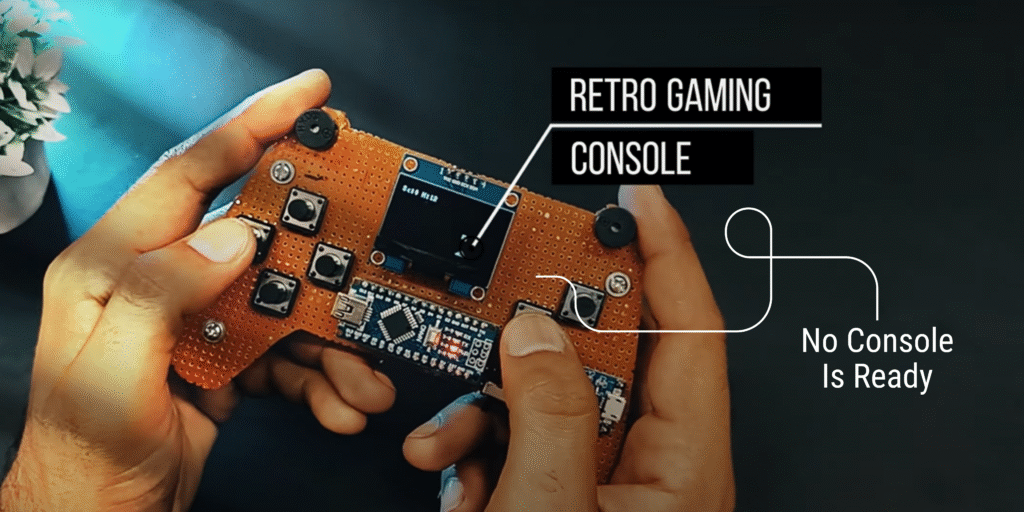
In this tutorial, we’ll build a Mini Game Console using an Arduino Nano, SH1106 128×64 OLED Display, 6 Push Buttons, and a Buzzer.
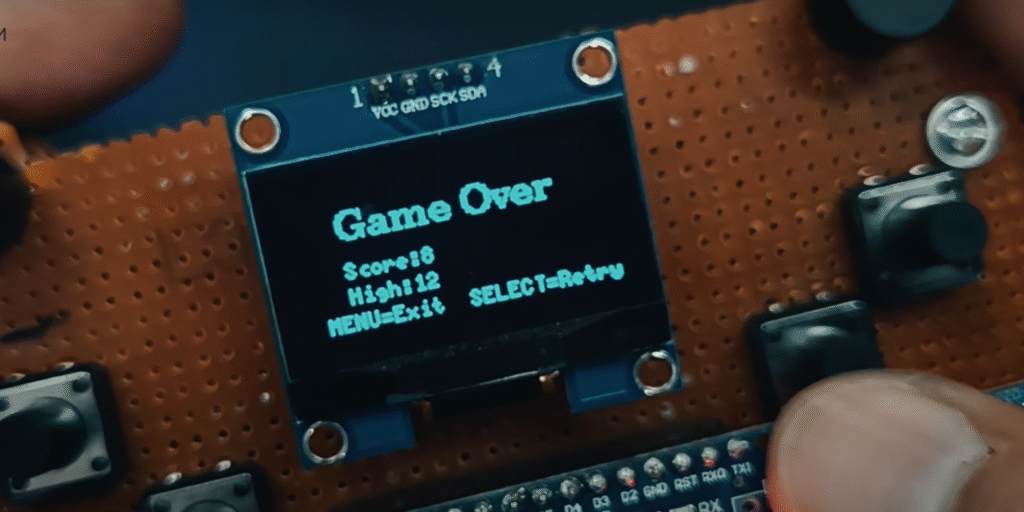
This console lets you select and play four exciting mini-games:
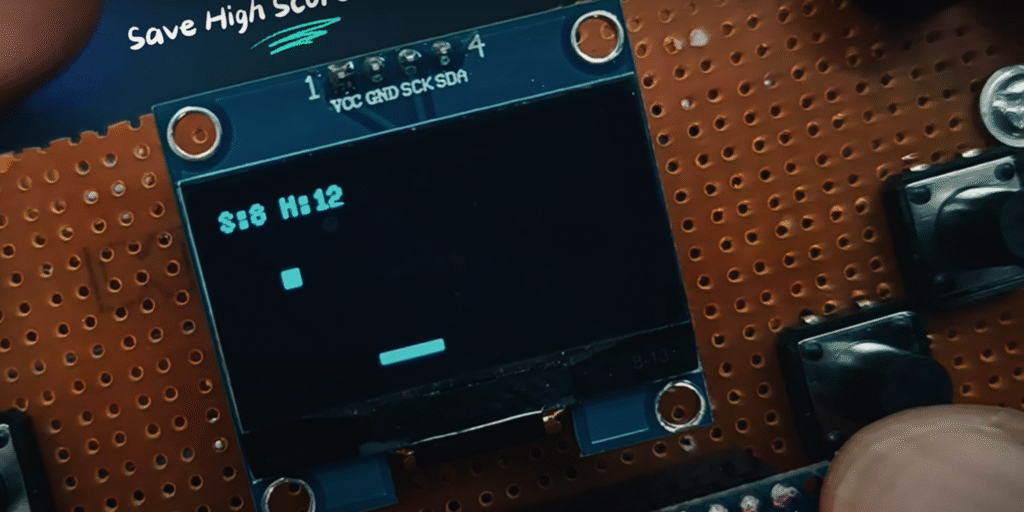
 Catch the Falling Object
 Shooter Game
 Flappy Bird
 Wall Breaker
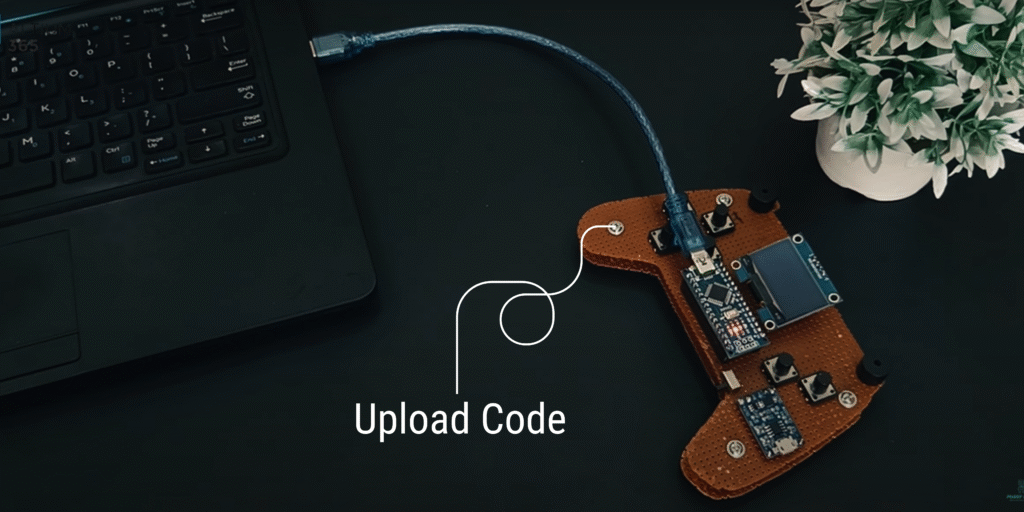
 You can upload new customized code anytime to add more games!
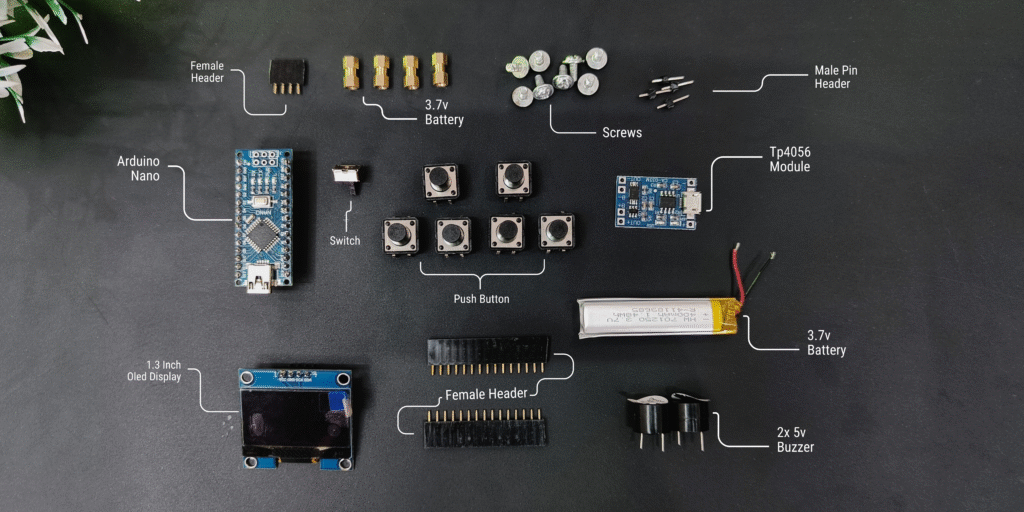
 Components Required
Arduino Nano
1.3-inch OLED Display (SH1106 Driver, I2C Interface)
6× Push Buttons
2× Buzzers
1× TP4056 Charging Module
2× 6×4 Inch PCBs
Small Battery (for portable power
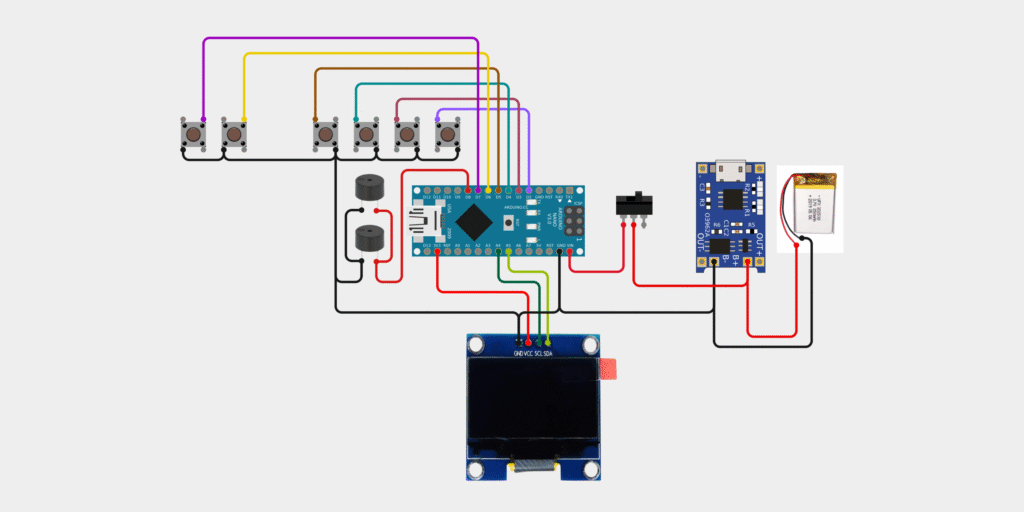
 Circuit Diagram
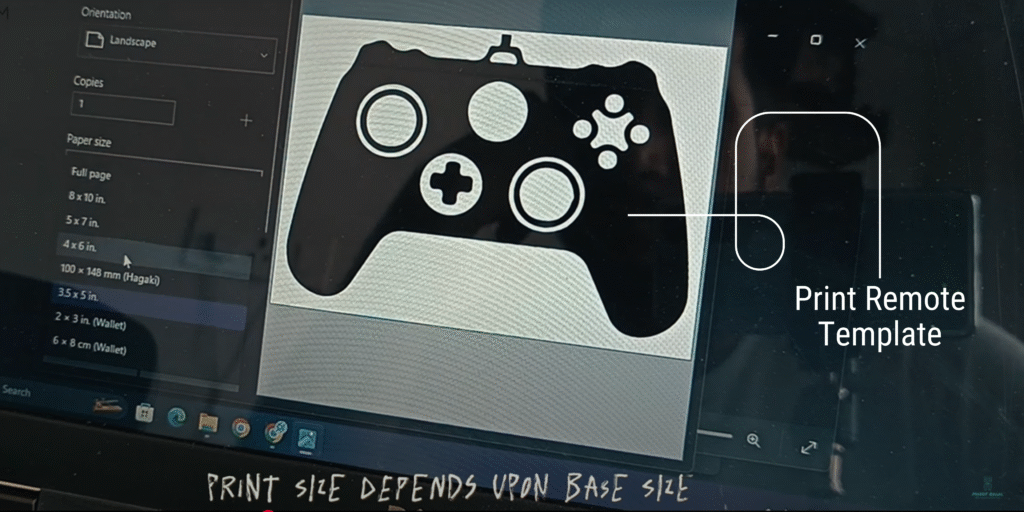
 Step 2: Prepare Remote Template and Cut Zero PCB
Print a remote-style layout template for button and screen placement.
Paste it on one 6×4 inch Zero PCB.
Cut the PCB in a game controller shape using a cutter or PCB saw.